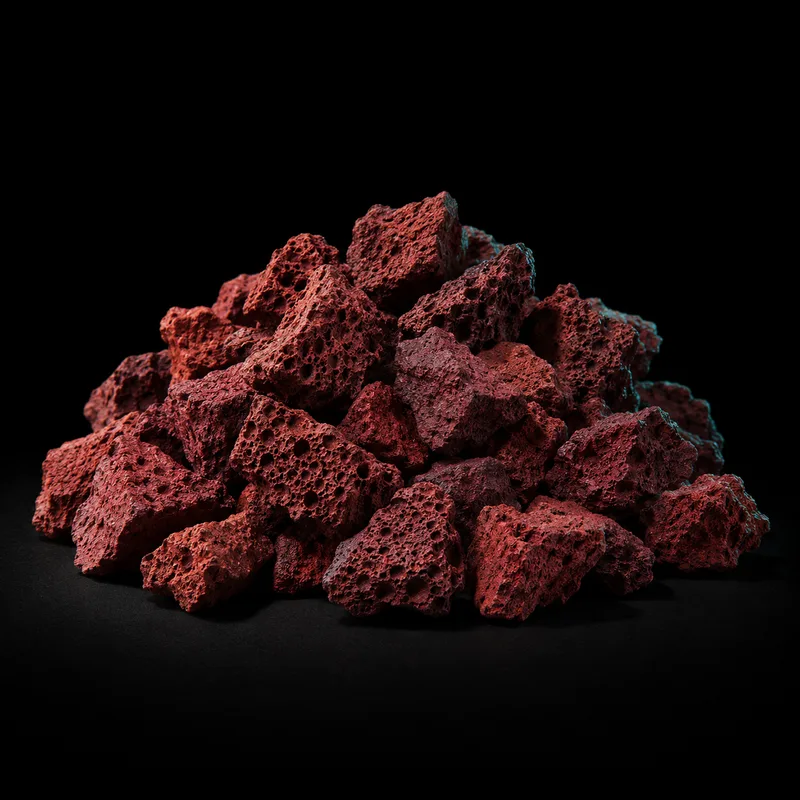
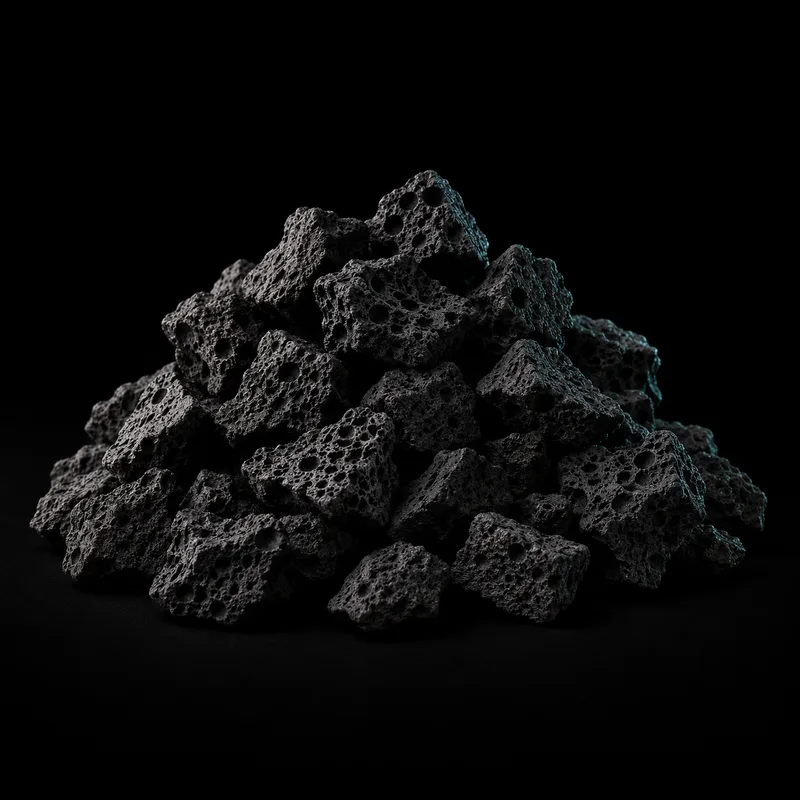
A drainage layer can provide a lower space for excess water in a deliberately designed humid vivarium. Lava rock is only a candidate material after its properties, the barrier, the water-removal method, and the animal's needs have been checked.
Give the layer a clear purpose
The lower layer is not the animal-contact soil and is not a universal requirement for every planted enclosure. State what it is supposed to collect, how much space is available, and how you will know when water needs attention. A hidden layer without observation is hard to manage.
The Bio Dude's drainage article describes water-level management and differences between its systems. Use the functional explanation without transferring its product-specific promises to an unrelated stone.
Start with a species-specific enclosure plan. The MSD Veterinary Manual connects ground choice with humidity and other environmental requirements. A broad tropical or arid label cannot choose a complete floor for the animal.
Confirm the actual lava material
The National Park Service explains the cavities associated with scoria. That texture does not certify chemistry, absence of treatments, or suitability in a particular humid enclosure. A stone can be porous without being a confirmed animal-use material.
Swift's launch lava chemistry remains unresolved. We do not use a no-reaction vinegar observation as a universal inertness certificate. If a design depends on a known material property, wait for that evidence rather than replacing it with a geological description.
Check actual grading and loose fines. A nominal 3/8 inch product is not a collection of identical spheres. Compare the supplied fragments with the separator and any access opening so that loose pieces stay where the design intends them to be.
Make a place for water management
Decide how you will inspect the lower space and remove excess water if needed. Keep that route accessible after planting and hardscape are finished. A drainage tube hidden beneath a permanent slab is not a useful service feature.
Observe the actual layer rather than relying on a fixed calendar. Water input, ventilation, plant growth, and room conditions can change the result. An initial misting routine is not proof that the lower space will remain at an appropriate level indefinitely.
Do not interpret the layer as permission to saturate the whole enclosure. The animal, soil, and plants have their own requirements. More empty space beneath the soil cannot automatically correct unsuitable watering or poor ventilation above it.
Fit the separator to the job
A suitable barrier keeps the upper ground from migrating into the lower layer while preserving the designed behavior. Choose the material, opening size, and fit for the actual enclosure. Mesh is a category name, not a specific product approval.
Plan edges, corners, access pipes, and supports. Gaps can become routes for soil or animals, while an improvised sharp edge can create another problem. Check the barrier before covering it because repairs will be harder once the soil is planted.
Swift does not sell mesh. The layer builder includes a reminder rather than pretending that a stone order supplies a complete enclosure system. Account for the separator and all other missing components before you begin assembly.
Keep rough rock below the appropriate ground
A lower drainage role is different from a loose exposed floor. Lava's irregular surface should not be presented as a default walking or feeding substrate for reptiles. Ensure that the actual enclosure design keeps animals from entering an unintended lower space.
A burrowing species can change the ground above a separator. Follow species-specific care guidance about whether that arrangement is suitable. Do not assume a mesh line in a diagram remains an animal-proof barrier under every behavior.
Heavy hides, stones, and branches need dependable support independent of soil an animal can move. A loose layer selected for water space is not automatically the structural base for a tall stack. Photograph support points and leave maintenance access.
Calculate the layer separately
Measure the inside footprint and intended depth. For a 36 by 18 inch floor at 2 inches, the volume is 1,296 cubic inches, or 0.75 cubic feet. At the provisional lava density of 50 lb per cubic foot, the estimate is 37.5 lb.
This example is arithmetic, not a prescribed depth or weight for a particular species. Actual density, arrangement, moisture, and hardscape displacement can change the material required. Keep the estimate visible rather than claiming an exact fit from a nominal bag count.
Calculate the soil and surface layers separately because their densities differ. Check the total floor height against doors, ventilation, and usable enclosure space. A visually tidy cross-section can still consume too much of the animal's environment.
Establish and observe the whole enclosure
The Bio Dude's tropical setup article presents layers as part of a connected system. Do not copy only one layer and assume the rest of the system's outcomes follow. Every ingredient and living component has its own requirements.
Before introducing the primary animal, verify the complete care conditions and the maintenance routine. A layer that looks dry or a plant that appears healthy does not certify the animal's environment. Keep observations and appropriate measurements as the setup settles.
Do not equate the layer's total bulk volume with its available water-storage volume. Some of that space is occupied by stone. The useful reservoir and operating level need observation in the actual arrangement. A volume-to-weight calculator estimates the stone order; it does not predict exactly how much excess water the assembled lower space can hold.
Compare black 3/8 inch lava with burgundy 3/8 inch lava by confirmed information. Continue with bioactive layers, clean soil, and burrowing ground.