
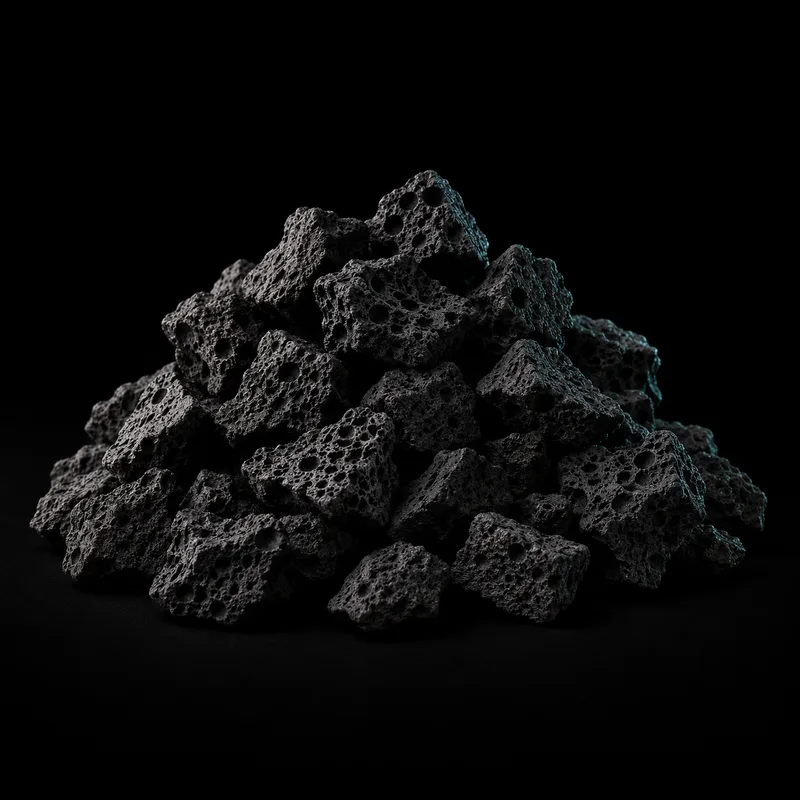
A designed humid bioactive build commonly separates a lower drainage space, a suitable barrier, a soil layer, and surface cover. That order describes material jobs; it does not establish one safe recipe, depth, or humidity target for every reptile or amphibian.
Choose the animal before the cross-section
Start with the actual species, its age and health, and the enclosure's ventilation and temperature plan. Tropical is a broad label. It cannot tell you how wet the floor should be, how deep an animal must burrow, or whether the intended plants and invertebrates fit the conditions.
The MSD Veterinary Manual connects substrate choice with environmental requirements. Use relevant species guidance and veterinary advice where needed before turning a diagram into an animal enclosure. A layer builder is a quantity tool, not a husbandry approval.
Sketch the enclosure in section and plan. Mark doors, vents, water features, support points, and the highest ground level you can use without obstructing access. The full floor height matters, including the hidden layers. Keep room for the animal and maintenance tools above it.
Give the drainage space a defined purpose
The Bio Dude's drainage discussion describes collecting excess water beneath the main substrate in suitable tropical designs. It also makes the layer part of water management, not an excuse to keep adding water without observation.
A lower space needs a way to be inspected and managed. Decide how excess water will be removed if the design requires it. Do not seal the only access beneath permanent hardscape and then call the arrangement low maintenance.
Not every planted or arid enclosure needs this same layer. Follow the complete design. Adding rock to the bottom consumes height and adds weight; it does not automatically solve the moisture needs of whatever soil is placed above it.
Use a suitable separator
A barrier can help keep the upper material from migrating into the lower space. Its openings, durability, edges, and material must suit the enclosure. The word mesh does not identify a single universally appropriate product.
Plan the fit around walls, pipes, and access points. A large unprotected gap at the edge can undermine the reason for using a separator. At the same time, avoid blocking the maintenance route or creating a sharp exposed edge where an animal can reach it.
Swift does not sell the mesh in the layer diagram. Account for it separately rather than presenting a stone-and-soil cart as a complete functioning system. Confirm every component before starting assembly so you do not improvise with an unidentified material halfway through.
Treat the soil as a material needing evidence
The soil layer can provide root space and a ground medium for a designed enclosure. What belongs in it depends on the actual ingredients and animals. A product name such as topsoil does not prove that fertilizer, pesticide, manure, perlite, or other additives are absent.
The Bio Dude's tropical setup guide describes its own connected substrate system. Its product-specific claims do not certify a yard soil. Use it for understanding the roles, not for transferring guarantees between different materials.
Swift's topsoil and fill dirt remain unpublished while clean-material and shipping checks are missing. A source about general bioactive practice cannot supply the missing attestation. Do not add an unconfirmed ingredient simply to complete the visual layer stack.
Choose surface cover for the actual system
Leaf litter or an appropriate mulch can be a separate top material in some designs. Confirm species and treatment history. Aromatic, dyed, or otherwise unsuitable wood must not enter a reptile enclosure because it was sold as natural landscaping material.
Surface cover also changes what you can observe. Keep feeding and waste inspection practical, and leave access to plants and support points. An attractive uninterrupted surface is not more important than knowing what is happening underneath it.
Do not interpret a layer diagram as a feeding recommendation for every cleanup invertebrate. Isopod and springtail needs vary, and adding them does not remove the keeper's responsibility to remove waste and monitor the primary animal.
Keep heavy structures independently supported
Build the supports for stone, branches, or hides before relying on loose ground around them. A burrowing animal or normal maintenance can move substrate. A heavy ledge should not become unstable as that happens.
Check the enclosure manufacturer's load and material limits. Keep high pieces secure and inspect the joints before covering them. Photograph hidden support points and label the materials used so later maintenance has a record.
Do not let the drainage layer become the improvised foundation for an unsupported stack. A material chosen to leave water space may not be a dependable structural base. The ground system and the hardscape need to be compatible without being treated as the same design problem.
Calculate quantities by layer
Measure the internal footprint and each intended depth. Convert each volume with the corresponding material's explicitly estimated density. For a 36 by 18 inch floor, each 1 inch of depth occupies 0.375 cubic feet. Four layers should be calculated separately because their densities differ.
The site's initial tropical depths are editable planning defaults. They are not a care prescription. Check the total height against access, ventilation, and the chosen animal's requirements before adding anything to a cart.
Add the chosen depths before installation. A 2 inch lower space, 4 inch soil layer, and 1 inch surface layer occupy 7 inches before any raised hardscape. That example is a height check, not a recommended stack. Compare the sum with door and vent positions so an attractive diagram does not quietly consume essential usable space.
Read lava drainage layers, clean soil selection, and cleanup-crew ground. The calculator can show quantities after the design and material facts are settled.