
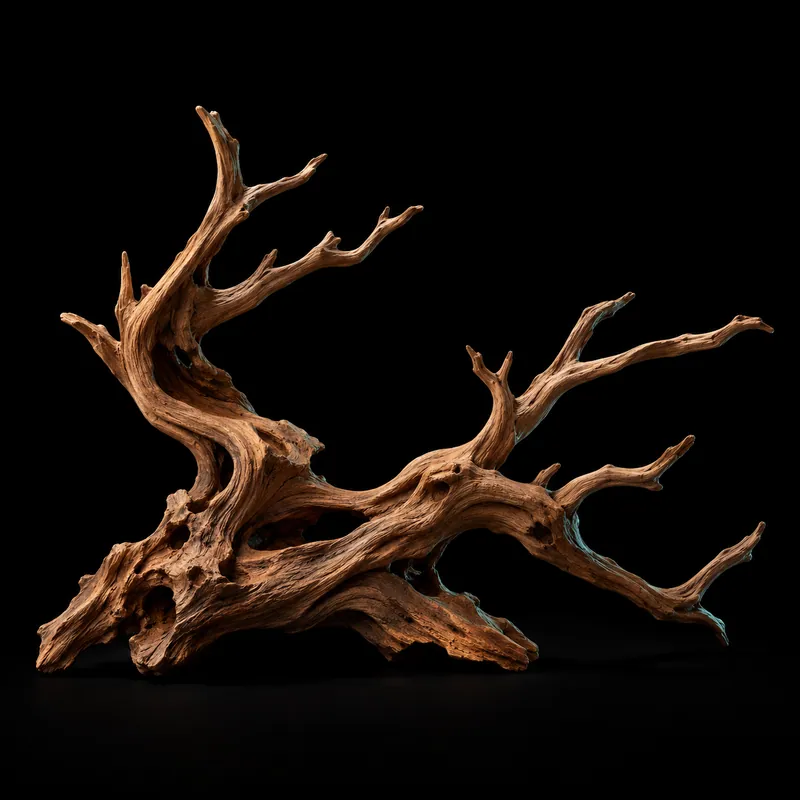
Confirm the wood's species and treatment history before preparing it for an aquarium. For suitable wood, cleaning, separate soaking, inspection, and stable placement are more useful than a promise that every piece will be ready after a fixed number of days.
Preparation starts before the bucket
Choose wood with reliable information about its intended aquatic use. Avoid assuming that a dry branch, a landscaping offcut, or a product with an attractive shape is suitable merely because it looks like driftwood. Cleaning cannot establish the identity of an unknown material.
Ask what the seller knows about species, coatings, previous treatment, and handling. Keep those questions separate from appearance. A photograph can show the shape of a piece; it cannot establish whether it was exposed to a preservative or whether a particular wood species belongs in your system.
The species and preparation of Swift's graded wood are awaiting confirmation. It is offered as a catalog record while those facts are gathered. Read those details before making an animal-use decision. No guide about general preparation supplies missing evidence for the actual wood.
Inspect the entire piece
Turn it over and look into hollows, branching joints, and cavities. Identify loose fragments you can remove without creating a new sharp point. Think about where food or waste might lodge after the piece is partly hidden by plants. A hollow that cannot be inspected may also be difficult to maintain.
Measure length, width, and height rather than relying on a size grade alone. Check the aquarium opening, braces, and lids. A piece that fits the tank's outside length may not pass safely through its top opening. Leave space around equipment and avoid pressing branches against glass.
Sketch at least two positions before committing to one. A low arrangement may be easier to support and clean than an upright branch. The MSD Veterinary Manual notes that large decorative objects are easier to arrange before a tank is full, which is a reason to plan access early.
Use clean tools and a separate container
A dedicated container lets you observe the wood without placing it in an occupied display. Use equipment without detergent residue and water appropriate to the preparation method. Scrub the surfaces gently to remove loose material. Do not add household cleaners on the assumption that a later rinse will make them harmless.
Change the soaking water as needed for your observation and follow any actual supplier instructions. Keep a note of what changes, including color, loosened debris, and buoyancy. This is a preparation record, not a laboratory certification.
Avoid using a container for another purpose partway through the process. A clearly labeled wood-soaking bucket is easier to keep separate from cleaning products, garden treatments, and animal food preparation. The goal is a simple process you can repeat and understand.
Expect variable sinking behavior
Fluval's driftwood FAQ explains that natural pieces vary: some sink after soaking, while some need additional support. Do not build a rigid timeline around one piece someone else prepared. A dense base and a thin branching tip can behave differently even within the same specimen.
Check buoyancy before attaching plants or creating a tall arrangement. A piece that stays down briefly is not automatically secure against movement, animal digging, or later maintenance. Plan support that does not depend on fragile decorations or an animal keeping its distance.
ADA's layout-materials guidance also describes dry wood floating until it becomes waterlogged. Use that as an explanation for the process, not a guarantee that all suitable wood will sink within a particular period. The actual result is what matters.
Understand discoloration without chasing it
Wood can release compounds that tint soaking water. Decide whether your aim is to reduce the initial tint or simply to observe it before placement. There is no useful universal target of absolutely colorless water for every type of wood and every aquarium design.
Fluval describes soaking and, where suitable, boiling as ways keepers reduce discoloration. Boiling is not a way to turn unidentified or treated wood into a safe product. Do not use heat without instructions that make sense for the actual material, container, and equipment. Allow anything heated to cool fully before handling or placement.
Separate the color question from the chemistry question. Water that looks like tea does not tell you its pH, hardness, or buffering capacity. If those matter to the animals, measure them. Read the tannins guide rather than using appearance as a chemical test.
Secure the arrangement thoughtfully
If you attach a piece to stone or another support, verify the suitability of every component. The rock needs its own checks; the fact that it can weigh wood down does not establish chemical compatibility. Avoid unknown metal fasteners or a material selected only because it is convenient.
Seachem's aquarium silicone page describes a product intended for aquarium use and the precautions around uncured sealant. Follow the actual product's surface preparation and full cure instructions. Do not rely on a universal wait time from a forum or assume that the absence of a strong odor proves a joint is ready.
Test the supported arrangement before animals enter it. Leave routes for cleaning, viewing, and retrieving the piece. Avoid narrow traps and unstable overhangs. A branch that looks secure from the front may have a weak contact point hidden at the back.
Keep observing after installation
A new surface can change as it stays submerged. Some wood develops a light film during its early period in water. Observe where it is growing and maintain water quality rather than immediately treating the aquarium with a medicine. Animal distress or growth on an animal is a separate issue.
Visit the driftwood page for confirmed product details and grading. Then read tannins and brown water, white growth on new wood, and stable hardscape.