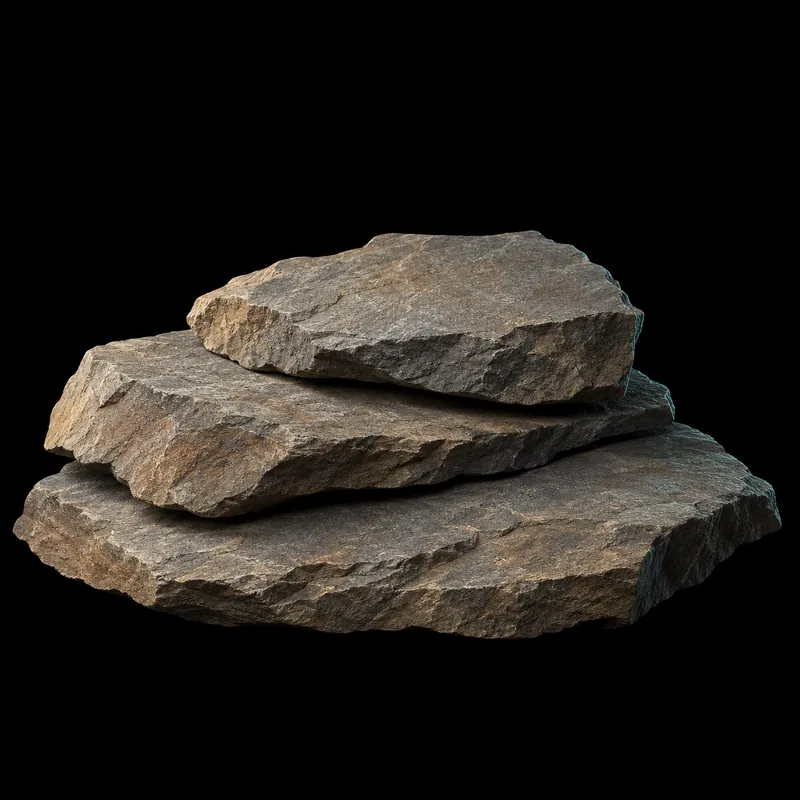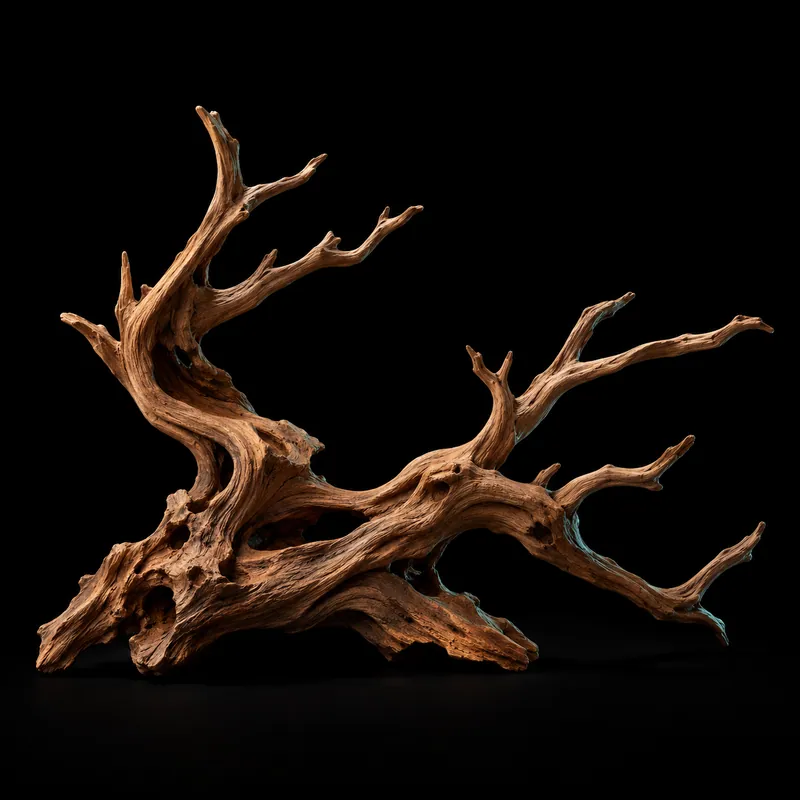
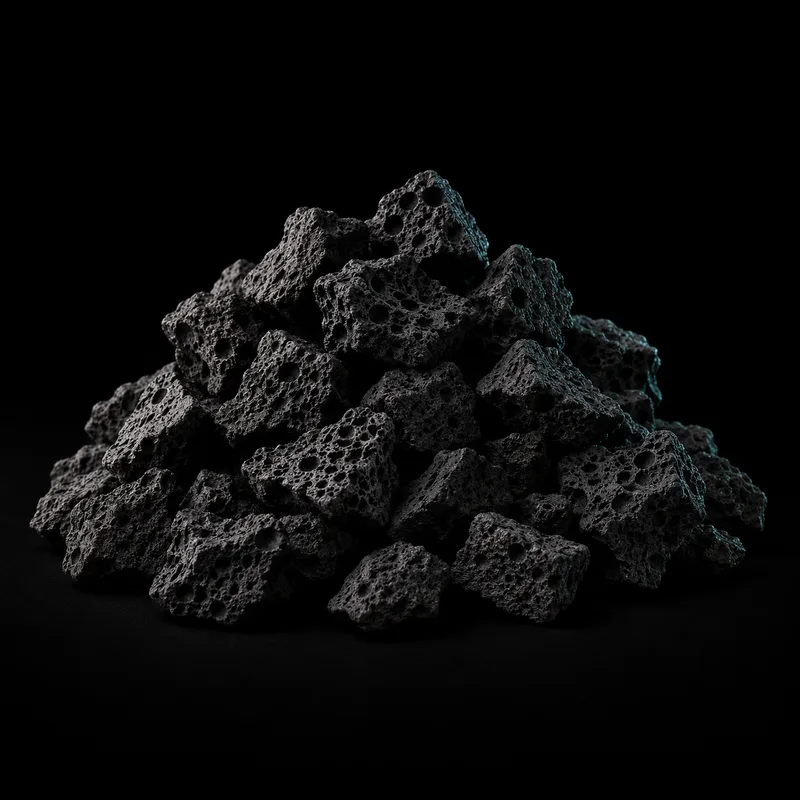
Stable hardscape begins with low, supported pieces that remain secure when animals dig and you perform maintenance. Adhesive and an attractive arrangement cannot compensate for an unsuitable foundation, unsafe gaps, or an overloaded tank.
Plan the structure separately from the picture
Draw the floor area, equipment, and access routes before arranging the specimen view. Mark where you will reach an intake, clean the glass, place a siphon, and retrieve a loose object. A photograph hides these tasks; the real aquarium cannot.
Think about the animals at adult size and how they move. Digging, pushing, hiding, and sudden turns can test a layout in ways a dry tabletop arrangement does not. Avoid a structure that depends on every loose grain remaining exactly where it was placed.
The MSD Veterinary Manual emphasizes stable aquarium support and notes that large objects are easier to position before filling. Include the stand, tank, substrate, and water load in the plan rather than treating hardscape weight as a separate harmless addition.
Check the actual aquarium limits
Follow the tank manufacturer's guidance about support, load, and contact with glass or acrylic. This article cannot approve a particular tank for a heavy stack. An old, damaged, or poorly supported aquarium needs assessment before more material is added.
Avoid concentrating a load on a sharp point. Keep edges clear of seams and do not wedge a stone tightly between opposite walls. A layout should not use the aquarium itself as a brace that holds a leaning pile together.
If you need a protective base, verify the proposed material and design with the tank maker. Do not assume a sheet, foam, grid, or silicone pad is suitable merely because another aquarist used it. Each added component creates its own material and maintenance questions.
Build from broad, dependable contacts
Choose pieces whose support you can see and understand. A broad base and low center of mass are easier to manage than a narrow balancing point beneath an overhang. Inspect every level rather than judging only whether the top piece feels steady.
Move the test arrangement from several directions while it is outside an occupied display. Do not use animals as the stability test. Take photographs from the side and rear so hidden contact points remain visible in your planning record.
For digging cichlids, Aqueon's layout guide recommends structural support that is not undermined when substrate moves. Apply the principle with the actual tank's limits in mind. A general recommendation does not justify sharp loads or excessive weight on glass.
Keep openings safe and inspectable
A cave entrance is not the only opening that matters. Examine the space behind a rock, under a branch, and between a stack and the glass. Fish may enter from a direction you did not plan. Growing plants can hide a gap without removing it.
Avoid narrow passages that could trap the animal as it grows. Check whether an opening has a wider end but a tight exit. If you cannot inspect or retrieve something from the space, simplify it. More visible complexity is not automatically better enrichment.
Leave room for normal movement around the structure rather than forcing all traffic through a single pinch point. A sudden flight from another fish should not send an animal into an exposed sharp edge. Match the surfaces and layout to the actual livestock.
Use adhesives only for an appropriate job
An adhesive must be explicitly suitable for the intended aquatic application. Household product names and color are not enough to identify compatibility. Read the actual label, instructions, and limitations before opening it.
Seachem's aquarium silicone information describes an aquarium product and precautions for uncured material. Sera's decoration guidance also stresses using aquarium-labeled silicone and notes that adhesion to porous stone can be problematic. This is a reason to test the proposed joint rather than trusting the word glue.
Follow surface preparation and the full cure instructions. Joint thickness, material, and conditions matter, so a universal overnight rule is inappropriate. Do not add animals or water before the actual product allows it. Keep ventilation and handling precautions in place during preparation.
Treat wood buoyancy as a force in the structure
Wood that looks settled when held in place may move once released. Prepare appropriate wood separately and check how it behaves before attaching it to a rock. Species and treatment history must be confirmed before preparation begins.
If a support weighs wood down, verify that it cannot pivot, slide, or expose a new gap. The rock needs its own chemistry and surface checks. A convenient weight is not automatically an appropriate aquarium material.
Plan how the combined assembly will be lifted safely. A connection that is convenient on a workbench may be awkward through the aquarium opening. If the structure cannot be serviced without risking glass or animals, divide it into simpler stable modules.
Keep maintenance in the design
You should be able to remove debris without dismantling the central structure every time. Leave a service gap large enough for the actual tool, and remember that a hand needs more room than a hose. Keep plants from blocking essential access as they grow.
Photograph the finished supports before covering them. Record which materials and adhesive were used, with the date and cure information. If the layout later shifts, this helps you understand the original arrangement rather than guessing beneath a planted display.
Inspect supports during routine care. Do not pull a large piece simply to see whether it is loose while animals are beneath it. If a significant change is needed, plan a controlled maintenance procedure and temporary animal management appropriate to the system.
Compare flagstone, lava, and driftwood only after their confirmed details fit the intended use. Read driftwood preparation, river rock selection, and cichlid rock planning before ordering the next layer.