
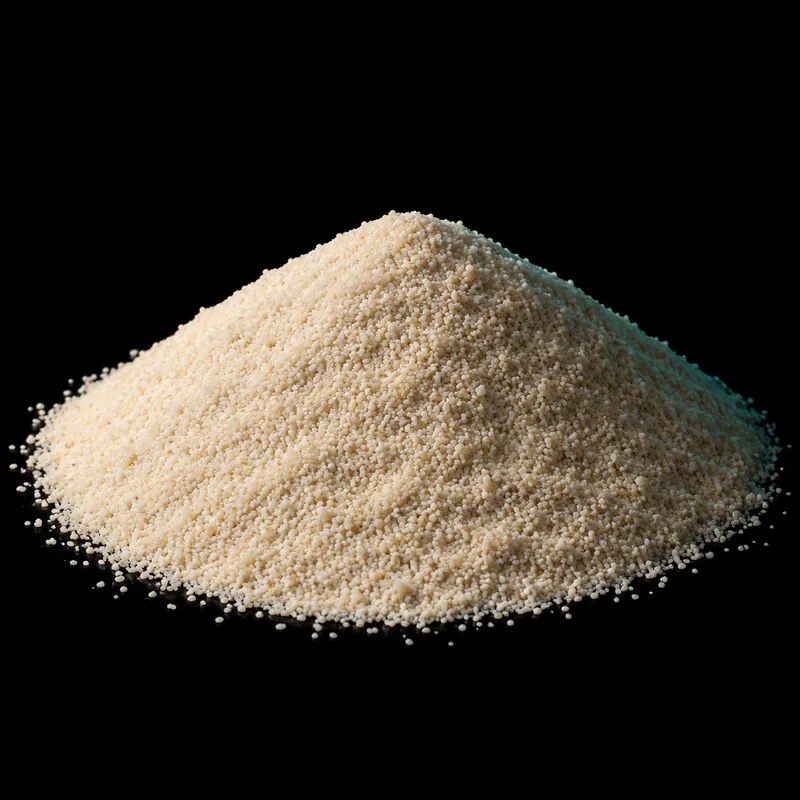
Rinse suitable dry aquarium sand in small batches using a clean container, then place and fill it gently. Packaged live or bacteria-inoculated substrates can have different instructions, so read the actual label before washing anything.
Identify what the bag contains
Dry mineral substrate, active planted substrate, and packaged live sand are not interchangeable products. The first step is to identify the material and the supplier's preparation instructions. A generic instruction to rinse every aquarium substrate can discard a feature another product was designed to preserve.
CaribSea's FAQ specifically distinguishes substrates that should be rinsed from named products intended to be added without that preparation. Use its instructions for those products rather than assuming every bag with a similar color behaves the same way.
Swift's sand is dry material with a confirmed washed-and-screened preparation statement. Its composition and measured grain size remain unresolved. Rinsing removes loose fines; it does not establish those missing facts or make an unconfirmed material suitable for every aquarium.
Set up a clean work area
Choose a container that has not held detergent, garden chemicals, or other contaminants. Keep a second container available if you need to move prepared material. Labeling dedicated aquarium equipment is easier than trying to remember what a household bucket once contained.
Work where spills and runoff can be handled without slipping or scattering usable material. Use a batch small enough to stir and lift safely. A large bag may be economical to buy, but you do not need to rinse its entire weight at once.
Protect the equipment and plumbing you use. Do not pour a heavy slurry of sand into a drain and assume it will disappear. Keep solids contained and dispose of rinsing waste appropriately for the setting. The goal is to remove fines from the intended bed without creating a separate maintenance problem.
Rinse with controlled movement
Place a manageable amount of appropriate dry sand in the container, add water, and move the material gently enough to release loose fines. Let heavier useful grains settle before carefully pouring off the dirty water. Repeat as needed while retaining the substrate.
CaribSea describes rinsing small amounts in a clean bucket until the water changes from milky to cloudy. That is a practical preparation description rather than a promise that every natural material becomes absolutely dust-free. Avoid washing away a significant part of the useful grade in pursuit of an unrealistic visual endpoint.
Keep the product's instructions close by. Water choice and any final preparation should fit the actual material and system. Do not add soap, a disinfectant, or a clarifying chemical to the rinse simply because the water remains cloudy. This guide does not prescribe chemical treatments.
Expect shipping fines even in prepared material
Seachem's explanation of dusty substrate describes fines produced by movement in packaging and transport. That explanation applies to its material, but it also illustrates why prewashed is not a guarantee of zero loose particles at installation.
Do not copy Seachem's chemistry statements to another substrate. A manufacturer can explain that its own dust does not alter particular parameters without establishing the same claim for every sand. Keep the preparation method and the product-specific chemistry separate.
If a bag looks unlike the description, contains unexpected debris, or cannot be identified, contact the seller before proceeding. Rinsing is not a substitute for resolving an unexplained material discrepancy. Retain the label and a photograph of the batch for a clear conversation.
Place the bed before directing water at it
For a new setup, plan where the prepared sand goes and how structural hardscape is supported. Avoid using loose substrate as the sole foundation for a stack that digging could undermine. Keep the actual tank's load and support instructions in mind.
Add water gently so it does not excavate a hole in the bed. A suitable clean dish or other intended filling aid can diffuse the incoming flow. Keep the hose under control and watch the water level rather than leaving the tank filling unattended.
Do not bury equipment openings or allow sand into components that are not designed for it. Check filter and pump instructions before startup. The MSD Veterinary Manual notes that dust can clog filters and affect pumps, which is a reason to prepare the substrate rather than letting equipment do all the work.
Treat an established aquarium differently
Adding sand to an occupied aquarium is a change to a living system, not merely the last step of a new-tank installation. Consider animal management, existing biological filtration, and the disturbance of old material before beginning. Do not replace the whole bed casually to correct a visual cloud.
Follow the appropriate equipment and husbandry guidance for the actual tank. Keep observations and water measurements before and after a significant change. If animals show distress, assess the system and get appropriate help rather than assuming the only issue is appearance.
Mechanical collection of remaining fines may be part of the filter's normal job, but inspect and service it according to its instructions. A clogged polishing component is not useful simply because it once made the water clearer. Keep flow and biological stability in the plan.
Clear water is only one checkpoint
A tank that looks clear has passed a visual observation, not a biological readiness test. It can still need establishment, water-quality checks, or a change in material choice. Do not add livestock on the basis that the back glass has become visible.
Check the sand product details before choosing an intended use. Read grain size and flow, reef sand quantities, and substrate weight calculation before building the order.